A floral back tattoo women spine that follows the center line of the body creates a clean vertical flow and reinforces the spine as a natural guide for placement. This matters because a centered composition interacts with clothing, posture, and how the design will age over time. Choosing the spine as an axis helps a floral motif feel intentional rather than incidental.
Deciding between fine line, black and gray, and painterly color affects how much detail will hold up along the spine. Larger blooms need more space between elements so they do not blur together, while smaller buds and leaves can form a delicate chain that reads from a distance. Consider how much you want the tattoo to extend to shoulders or lower back before you commit to a scale.
The examples below show different ways floral work can sit on the spine, neck, shoulders, and upper back so you can compare symmetry, negative space, and style. Use these ideas to identify the elements you want to keep or change before visiting an artist.
31 spine floral back tattoo ideas for women
Delicate black and white sketch
This pin reads as a paper drawing of flowers in black and white. When using a sketch like this as a reference, ask your artist whether the line weight will translate directly to skin and how much shading will be needed to keep petals readable. Sketch based designs let you pick which parts to simplify for a long lasting spinal placement.
Neck to upper spine cluster
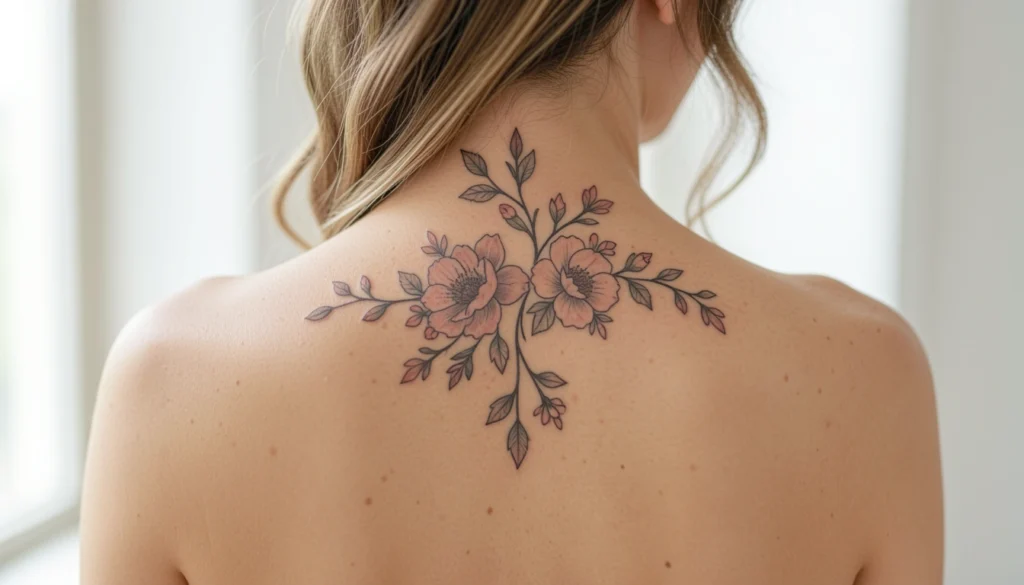
A flower cluster at the back of the neck that flows into the upper spine creates a subtle reveal under low collars and swimsuits. This placement benefits from smaller elements near the neck for comfort and to avoid excess stretching when you move. Confirm whether you want symmetry or a slightly offset composition that follows one side of the vertebrae.
Floral panels on each side
Flowers placed on the left and right sides of the upper back can frame the spine without running directly over it. This approach works well if you want a central negative space or plan to add a spine running motif later. Talk to your artist about how the pieces will connect when you bend and how much overlap is comfortable.
Shoulder leaf and bloom cluster
A tattoo that sits on the shoulder and reaches toward the spine balances bold shoulder placement with a delicate trail toward the center. Leaves and stems can taper as they approach the spinal line to keep the focal point on the shoulder. Decide if you want that shoulder cluster to mirror the opposite side or remain a single sided accent.
Subtle upper back silhouette
An image with a turned back suggests a softly placed upper back floral that reads well with natural curves. For that soft silhouette look, consider muted shading and fewer heavy outlines so the tattoo integrates with skin tone. Ask whether a larger composition will need touch ups sooner if lines are kept very fine.
Shoulder to arm connection
Flowers that start near the shoulder and move toward the arm create a flow that breaks the back into connected areas. If you like continuity, plan how stems and leaves travel across the shoulder joint so the piece looks coherent when your arm moves. Be aware that motion at joints can affect how quickly certain lines soften.
Ornamental single bloom drawing
A single flower with ornamental swirls and star details suggests a stylized center piece for the spine. This kind of design can be scaled to sit between shoulder blades or enlarged to run down the vertebrae. Discuss whether the ornamental elements should be simplified for skin or translated exactly from the drawing.
Minimal neck flowers
Small flowers at the nape create a modest spinal accent that is subtle but deliberate. These small pieces heal faster and are easier to conceal, but fine details may blur over years. Consider placing slightly larger line work or soft shading to preserve definition without losing that minimal look.
Upper and lower back balance
Designs that include both upper and lower back flowers create a balanced vertical composition that makes the spine the connecting element. When planning this scale, think about how much empty space you want between clusters to let each group breathe. A mapped mock up on your back will show how the eye travels from top to bottom.
Full central floral cascade
A central cascade of flowers down the spine can act like botanical jewelry. This look relies on consistent spacing and gradual variation in flower size so the flow feels natural. Ask your artist to consider how the spine curves when you stand and sit to keep the cascade aligned with your posture.
Side neck spray
A small spray on the side of the neck and near the spine offers a delicate, off center option that peeks out beneath hair. It is ideal if you want a floral accent without committing to a long spinal piece. Check whether the line direction will follow muscle contours so the tattoo moves with the body.
Simple floral sketch page
Another drawn example suggests elements you can pick and choose from to form a spine centered tattoo. Drawings are helpful to test composition, but talk with an artist about how each drawn line will translate to living skin. You might want to combine two sketches into a single customized spinal piece.
Upper and lower matching motifs
Matched upper and lower back clusters that mirror each other work well when you want the spine as a divider. This symmetry can make the composition feel intentional and architectural. Decide whether you prefer mirrored flowers or similar motifs that are not exact copies to avoid a too rigid look.
Floral ornament with swirls
Swirls and star like details around a flower draw attention to the center and add a decorative feel to a spinal piece. Ornamental accents can age differently than basic line work, so ask the artist which parts might need bolder outlines. If you want that flourish to remain crisp, simplify the smallest decorative marks.
Chest and upper back pairing
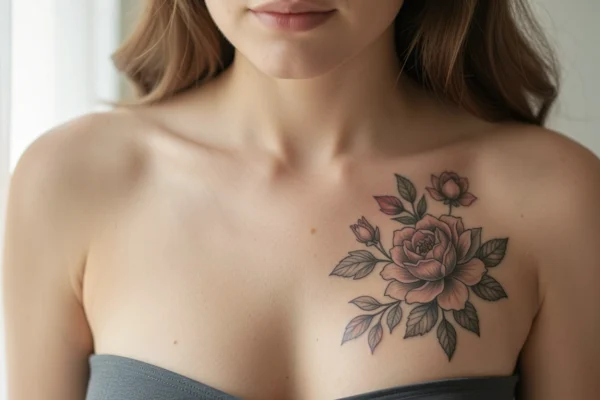
When chest tattoos connect to the upper back, flowers can help the transition feel organic. This layout is useful if you plan a larger torso composition in the future. Sketching how stems continue across the clavicle gives you a preview of overall balance and flow.
Single central bloom
A single flower centered on the back simplifies decision making and keeps the focus narrow. This option requires careful proportion so the bloom does not look too small on a broad back or too large on a narrow frame. Request a temporary transfer to see scale before the appointment.
Upper back shoulder wrap
Flowers that wrap from the upper back onto the shoulder offer a versatile composition that reads from multiple angles. This placement works well to disguise scars or to incorporate tattoos from earlier sessions. Confirm how much of the shoulder you want covered and whether the wrap will be symmetrical.
Portrait style back flower
A portrait orientation with a central flower emphasizes verticality and suits a spine based layout. Portrait style allows a clear top to bottom reading which helps the design function as a spine accent. Discuss focal points so the eye lands on the most detailed part of the tattoo first.
Upper and lower pairing with gap
Separated upper and lower clusters with a clear gap give a modern look and let the spine itself be a visual pause. This approach can be expanded later with a connecting vine or left open as negative space. Ask your artist to mark the gap so you know how it will sit when you move.
Daisy accent with arrow
A daisy on one side and a thin arrow motif at the center suggests mixing floral softness with linear contrast. If you want to combine a floral look and a linear symbol, verify how bold the arrow needs to be to remain legible over time. Decide whether the arrow should be purely decorative or carry personal meaning.
Line drawing collection
Simple line drawings of multiple flowers provide flexible parts you can rearrange into a spinal design. Lines can be thickened or softened at the artist stage, so bring references of your desired final weight. This modular approach is useful if you want to add elements gradually.
Centered floral silhouette
A centered silhouette of a flower makes the spine the natural anchor and keeps the composition symmetrical. Silhouettes translate cleanly to tattoos but can lack interior detail, so decide how much shading you want inside the silhouette. A compromise is to add minimal internal line work to suggest petal texture.
Layered sketch of a back
A drawn depiction of a back with flowers gives a clear visual for how a design sits on anatomy. Use this to test scale and placement relative to the scapula and lower ribs. Artists can adapt such sketches to fit your exact proportions during the stencil stage.
Dandelion style placement
A dandelion motif near the spine offers a light, airy alternative to classic blooms and can be used to suggest motion. These designs often include small seeds drifting away which require very fine dots that may need occasional refreshers. Discuss long term maintenance with your artist if you prefer many tiny elements.
Paired upper and lower spreads
Paired spreads across the back create visual weight both above and below the spine. This method helps distribute attention rather than concentrating it in one place. If you want a lighter center, choose smaller elements in the middle and larger clusters outward.
Vine and vine like lines
Vines that follow the spinal line provide a natural connector between blooms and can be extended laterally. Vines need consistent spacing to keep them legible and to avoid muddiness. Ask about tapering line weight so the vine looks lively rather than flat.
Centered floral spine motif
A centered spine motif with multiple flowers stacked communicates a clear vertical statement and reads well under clothes. For that stacked look, balance bloom sizes so the composition is harmonious from top to bottom. Consider whether you want a visible central stem or a more implied connection between flowers.
Single stem bloom
A single stem with a bloom on the lower or upper back uses the spine as an anchor without occupying the entire area. This approach is discreet and easy to conceal or reveal. Verify whether the stem should be straight or slightly curved to follow your natural anatomy.
Upper back focal piece
An upper back focal piece places emphasis on shoulder blades and the top of the spine. This is useful for those who want a visible statement when wearing open back clothing. Decide how much negative space around the piece you want to preserve to keep attention on the focal area.
Centered bloom with soft shading
Soft shading around a central bloom adds depth and can make a flat line drawing feel three dimensional. Shading choices influence longevity and touch up frequency, so talk about shading density. Lighter shading may fade more evenly while heavier shading can require more maintenance.
Neck floral accents
Small floral accents at the nape or along the upper spine are understated and versatile. These are excellent for first time spinal placements because they are lower in commitment and easier to conceal. If you like this look, ask for a stencil placement to preview how it sits with hair and clothing.
How to plan a spine centered floral tattoo
Start by mapping the exact area you want covered and test scale with a temporary transfer or drawing on the skin. The spine is a natural guideline so use it to anchor the design but avoid placing the most detailed parts directly over high motion areas like the shoulder blades unless you want frequent touch ups. Think about how the tattoo will interact with clothing and whether you want it visible every day or only with particular outfits.
Discuss line weight and shading with an artist who has experience with vertical compositions. Fine lines look delicate but tend to blur sooner on the back than bold outlines, so plan for a balance between crisp edges and soft shading that will age gracefully. Finally, ask for a mock up that shows the piece both standing and sitting so you can confirm how curves and posture change the look.
Frequently Asked Questions
Place a spine centered floral so the strongest visual elements align with the natural vertical axis of your back. Consider where collars, bra straps, and hair will fall to decide if you want the design high at the nape or lower toward the mid back. Try a temporary stencil while standing and sitting to see how posture changes the read and ask your artist to adjust spacing so details do not sit directly on bones that move.
Size and detail depend on how long you want the piece and how fine you want the features to remain over time. Larger blooms with moderate shading maintain their shape longer than very small, intricate marks. If you want many tiny petals and dots, accept that periodic touch ups may be needed. Discuss scaling with your artist and consider a mid sized composition that allows room for bloom centers and leaf veins without crowding.
A balanced composition usually centers on the area between the shoulder blades for a classic upper back placement or runs from the nape to the lower thoracic area for a full vertical statement. If you want something subtle, place smaller elements at the nape. For a connected cascade, start at the nape and let elements grow larger toward the mid or lower back to create natural movement and balance with torso proportions.
Yes, combining motifs is possible but requires careful planning so each element remains legible. Place text so it does not intersect complex floral clusters and choose fonts that contrast with petal shapes. If adding animals or symbols, let the spine guide the main axis and use negative space to separate motifs. Bring reference images and ask the artist to make multiple layout options to see how everything interacts visually.
Ask how different line weights will age on back skin and which shading techniques the artist recommends for longevity. Request examples of similar work on clients with comparable skin types and body placement. Inquire about whether the artist prefers to thicken certain outlines to preserve edges and how they will handle small details near joints. Also ask for an aftercare plan tailored to spine placements so you know how to protect the work while it heals.
Healing may take a similar timeframe but needs more attention to friction from clothing and sleeping positions. The upper back can rub against straps and bedsheets which can disturb scabs, so wear soft, loose clothing and avoid pressure on the area. Keep the area clean and moisturized as recommended and follow the artist’s guidance on gentle movement to prevent undue stretching. Monitor for signs of irritation and plan sleep and clothing changes for the worst of the acute healing days.
Bring the reference and ask your artist to create a custom composition that maps to your spine and shoulder shape. Expect adjustments to bloom sizes, stem curvature, and spacing so the piece complements your proportions. Discuss which elements you want preserved and which should be changed, and request a stencil placement or temporary transfer. This collaborative step ensures the final design is unique and fits the contours of your back.
Choosing a floral back tattoo women spine option becomes easier if you narrow elements to scale, placement, and line style. Save three or four favorites that show the size, spacing, and detailing you prefer and note what you like about each one before your consultation. When you speak with an artist, bring those references and ask to see a stencil so you can confirm how the design sits with your posture and clothing. A clear shortlist will make the design process quicker and more precise.